Two solutions in one plugin
You can install our free plugin from your WordPress Dashboard to configure WhatsApp Chat and/or Web Push Notifications. To download the plugin you can also go to this page. WhatsApp Chat is configurable only from the iurny plugin while the configuration of the web push can be done from the plugin and from the console for advanced features.
Watch our Quick Guide Video and discover all information on our website.
Installation
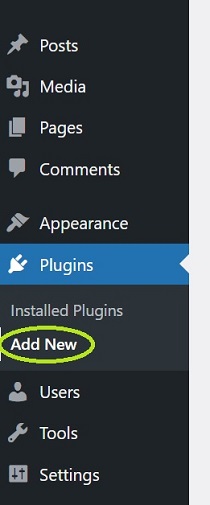
1. In the left side menu, click on Plugins> Add new
2. On the right top area, you can type "iurny" into the search box and click on Enter. Then the iurny plugin will appear.
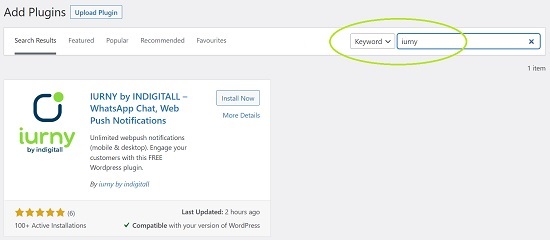
3. You only need to click on Install Now.
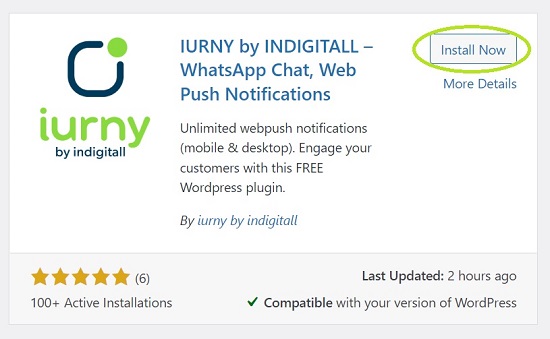
4. After installing, please click on Activate.
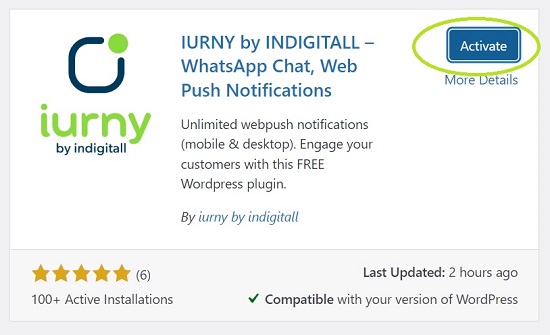
5. Once the plugin is activated, it will appear in the plugin area. Find out and click on Settings.

6. Now you can enter into the principal area where you see two tabs, at the left area, to choose the service you want to activate: WhatsApp Chat and/or Web Push.
Activating WhatsApp Chat is very easy. Only you need to click on the red button at the right area. Then you can write your phone number including the country code. In the space for the initial message, you can write a short sentence to help the users to start the conversation. For example: Hello, I have a question.
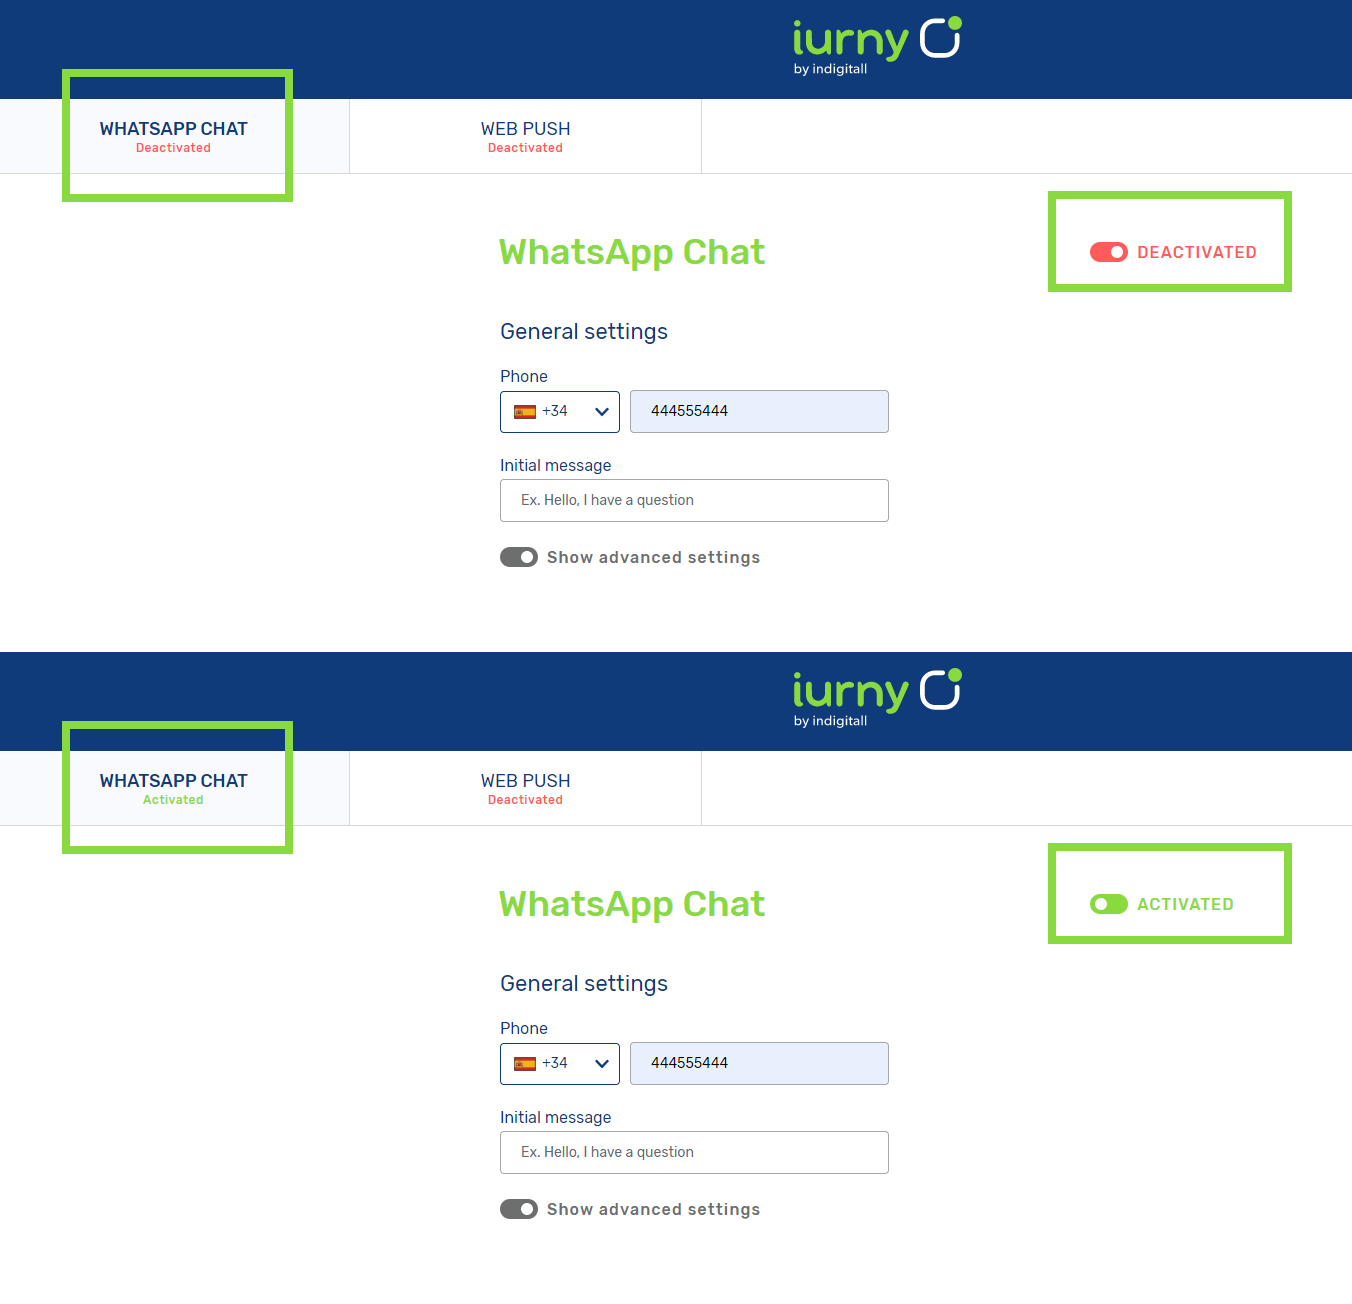
Now you can customize your WhatsApp Chat with your preferences and brand colors and click here to set up the Web Push service.
Several solutions in one console
Remember that from our console you can use all iurny products creating different projects for Web Push and App Push. The WhatsApp Chat module is very intuitive and easy so you only need to download the iurny plugin for WordPress and set up directly on the WhatsApp Chat tab into the plugin. You can see the details here.
Integration for Web Push
To confirm that everything works, follow these steps:
Access your website and see if the Show notifications box is displayed. Click Allow to accept them.
Open the developer console (F12 key) and go to the Console tab, you should see something like this:
[IND]Client: Method: PUT
URL: https://device-api.indigitall.com/v1/device?appKey=xxxxxxxx-xxxx-xxxx-xxxx-xxxxxxxxxxxx&deviceId=xxxxxxxx-xxxx-xxxx-xxxx-xxxxxxxxxxxx
Request Body: {
[]
"pushToken": "https://fcm.googleapis.com/fcm/send/xxxx",
"browserPublicKey": "xxxxxxxxxxxxxxxxxxxxxxxxxxxxxxxxxxxx",
"browserPrivateKey": "xxxxxxxxxxxx"
}
Response Code: 200
Response Message: OK
Response Body: {
"deviceId": "xxxxxxxx-xxxx-xxxx-xxxx-xxxxxxxxxxxx",
"enabled": true,
"platform": "webpush"
}Notice that Response Code has the value 200.
If everything is correct, congratulations, you can start sending notifications!
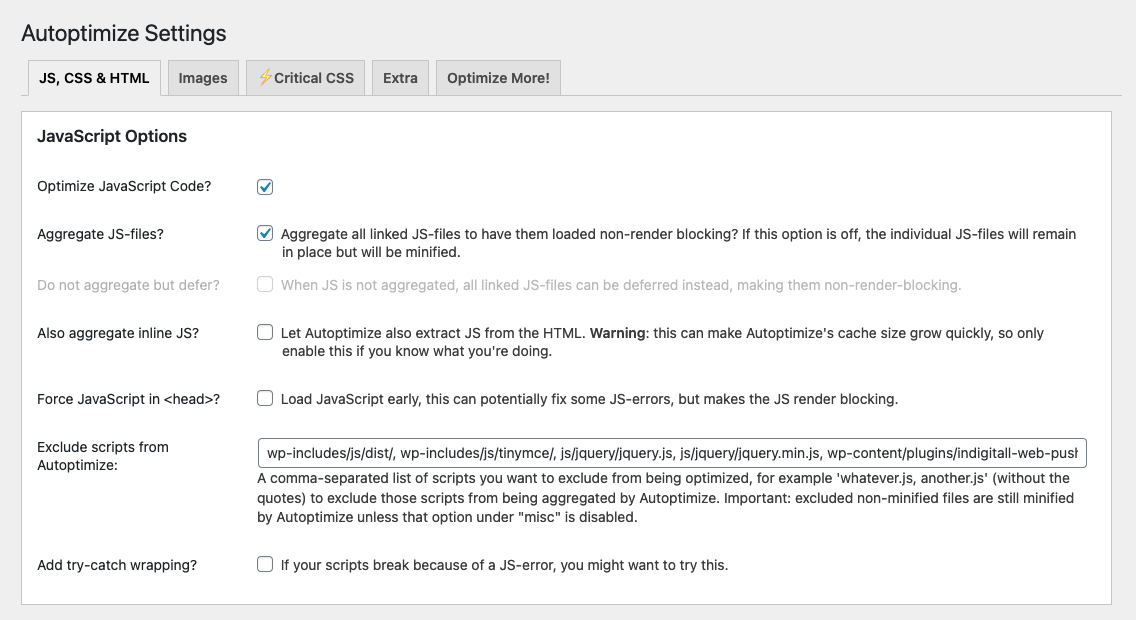
Some WordPress optimization plugins as Autoptimize block our plugin execution.
If you have this problem, add the folder "wp-content/plugins/indigitall-web-push-notifications" to your exception list.
